If you're playing Destiny 2 right now, then you're probably thinking about taking on the brand new Destiny 2 King's Fall raid. King's Fall is the raid introduced in Season 18, and it's a remaster of the iconic Destiny 1 raid but with some slight changes.
King's Fall has six total encounters each with their own set of challenges and mechanics. In this guide, we'll go through the Warpriest encounter in depth, including what weapons you'll want to bring.
If you're looking for some more Destiny 2 content, be sure to check out our coverage of Season 18 and what's new there. Also consider checking out our Duality dungeon solo guide. Be sure to also check our Destiny 2 King's Fall quick reference guide to get the TLDR for all the encounters.
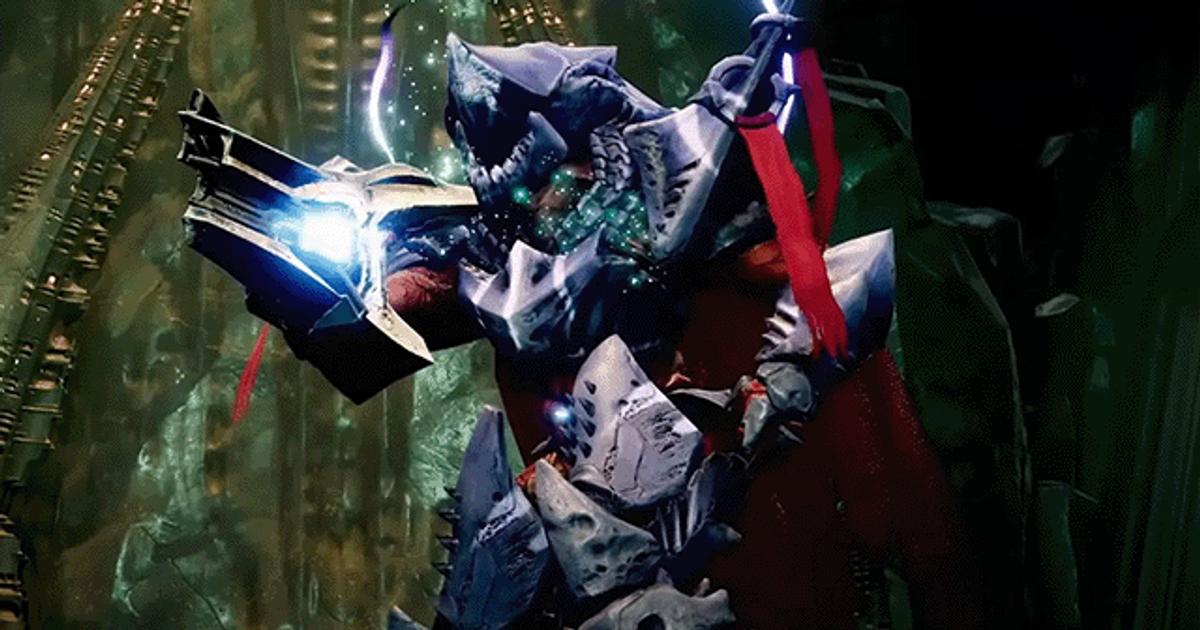
Destiny 2 King's Fall: Warpriest
The third encounter is Warpriest, which will be right through the big door in the middle room of the totems encounter. When you walk in, you'll see three pillars with runes on them. On the opposite side of those pillars, is a little head rock formation sticking out of it. You'll also notice three plates in the room, one in the middle, one on the right side balcony, and one on the high platform on the left.
For this, split your group into three teams of two, and have each team at one of the plates. Stand on all three plates to start the encounter. Here, you're going to want to kill adds, sticking roughly in your third of the map. When you kill two wizards and an orange bar knight in each section, the Glyph Reading phase will begin.
To start, one person in the middle section will step on their plate, look to for one of the pillars to be glowing, step off the plate, and call out which was lit. If they don't see either left or right glowing then the middle pillar is the glowing one.
- Note: the middle plate will only be able to see left and right, the right will only be able to see left, and the left will only be able to see right.
Once the first pillar has been identified, someone from that side will stand on their plate (but don't get off the plate), and look for the next glowing pillar. Then, the next lit up section will stand on their plate, and then the last plate will get stood upon. This will start the damage phase. The last person to get on their plate will get a buff called Aura of the Initiate. This is a big red bubble around you. Standing in this bubble will allow you to damage the boss, so it's important to stack together.
Similar to the last encounter, the Brand will tick down, so someone will be designated to locate a Blightguard in the room, kill it, get the Brand Claimer buff and take the Brand before it kills the player holding it. The first Blightguard will spawn as soon as the damage phase starts, so be sure to look around for it immediately. Here are where the Blightguards will spawn:
- Top left platform by the plate
- Just to the right of the middle pillar by the wall
- On the right platform by the plate
The easiest way to do this is to designate one person to be the "Brand Claimer", and once they take the brand, the player they took it from will go and look for the second Blightguard to claim the brand from them.
After a short duration (usually two Blightguards), or if the person holding the brand dies, the Warpriest will have the massive blight ball on his platform let out a bunch of energy, that will kill you if you stand in sight of it. Stand behind one of the pillars to not take any damage. Once that ability is over, that pillar will disappear, and you'll have to move to another pillar for the next damage phase. This means you have four total damage phases to kill the boss before it's a hard wipe.
Warpriest loadouts
For this encounter, we recommend bringing a Divinity and Linear Fusion Rifles for damage. Also, we recommend having a higher mobility character be on the left platform, and also being the designated Brand Claimer. Also the Divinity user should not be with the Brand Claimer, as Divinity uptime is very important and you don't want them having to switch off to go find a Blightguard.
And that's Warpriest down! This is definitely one of the more hectic encounters in the raid, but it's not all smooth sailing from here. If you're moving on to the next encounter, then be sure to check out our in-depth Golgoroth guide for some more information. While you're here, be sure to check out our weekly Xur updates to know where he is and what he's selling! Also be sure to check out our Destiny 2 codes guide for some freebies that you can get for your account!


