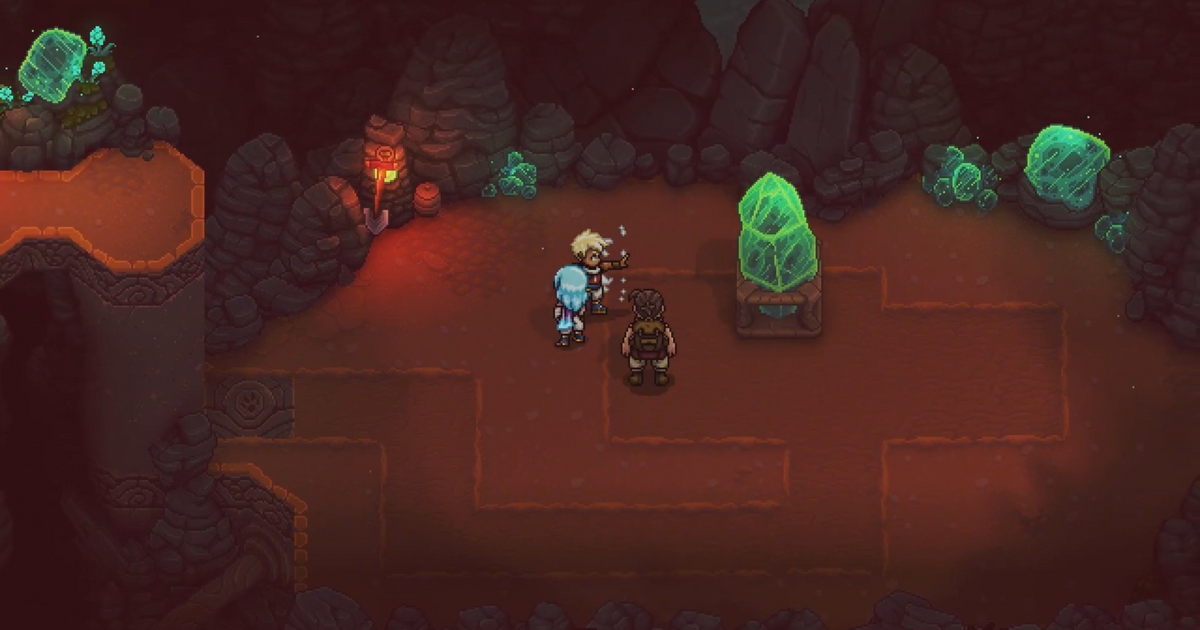
Sea of Stars presents a compelling adventure that requires a mix of strategic thinking, puzzle-solving, and combat skills. The Wind Tunnel Mines in the Stonemason’s Outpost are a great example of a dungeon that makes players use all of these skills in tandem in order to make it through.
During a middle section of the dungeon in particular, players will have to really use their wits to figure out how to move the green blocks and solve the various puzzles they present. This Sea of Stars mine puzzle walkthrough will help you get past all the green block puzzles to the big bosses of the Wind Tunnel Mines. Buckle up!
While you're here, you'll be interested to know about key things like how long does Sea of Stars take to beat and how to fish.
How to move the green blocks in Sea of Stars
To move these blocks, you need an item called the Mistral Bracelet. This item lets you create gusts of wind with which you can propel the green blocks in whichever direction you choose.
Luckily, if you’re stuck trying to figure out how to move the green blocks, you should already have access to the Mistral Bracelet since the first block you encounter will be right outside the room in the mines which contains the large chest housing this item.
Clearing every green block puzzle
Blow the block covering the room’s exit south and then do the same for the west exit to clear your path.
Keep in mind that this will initiate a fight with the Salamander, an unusual foe that you might need to prepare for. To defeat the Salamander, concentrate on Target Locks during its charging for Salamanger and use Moon or Sun attacks for effective damage.
After the fight’s done, you’ll find that the block you blew earlier provides a way back. Follow this path to discover a crystal on a track. Use the Mistral Bracelet to move the crystal in the following order: right, down, left, up, and left. This action will make the crystal sink, replaced by a climbable block that leads to the upper level. A chest located here contains the Mines Key.
Venture outside to the windy chamber. Blow the block east, creating a gap, and then climb the ladder on the right to find Berries. Descend the stairs and beat some minor enemies that shouldn’t give you much trouble.
After this, proceed east towards a tunnel for a battle against two Drillbats, an Ant Bruiser, and a Bushtroo. This fight can be tough, so it's advisable to enter with high MP. After the battle, return to the elevator room using the Bushtroo's tunnel.
Advance further by climbing to the upper level. Employ the Mistral Bracelet on a previously revealed fan to lower a crystal. Use this crystal to trigger the rise of a block on a track. Push this block to create a path leading to a doorway on the far-left side.
Continue along a narrow pathway while being cautious of Drillbats. Defeat a Bushtroo and its allies in a chamber. Return via the Bushtroo's hidey-hole to the elevator room. Activate another fan to lower a ladder, allowing you to ascend to the upper floor near the campsite and a save point.
Take a side trip by climbing the ladder near the save point and returning to the chamber where you encountered the first Bushtroo. Utilise the Mines Key on the locked door found on the upper walkways. Tackle a block-pushing puzzle to create a sliding track in the room's centre hole. Traverse this track to reach a chest containing a Trader's Signet, which will prove valuable at a secret shop in the future.
Finally, you can finish the final stretch of the puzzle by moving two crystals onto floor tiles, climbing up the new block platform that appears, and using your Mistral Bracelet's wind on the fan, in turn opening a door.
Before entering, make sure to save your progress, as a boss battle against the formidable Malkomud and Salamander awaits.
Next, check out our full review of Sea of Stars.
Explore new topics and discover content that's right for you!


