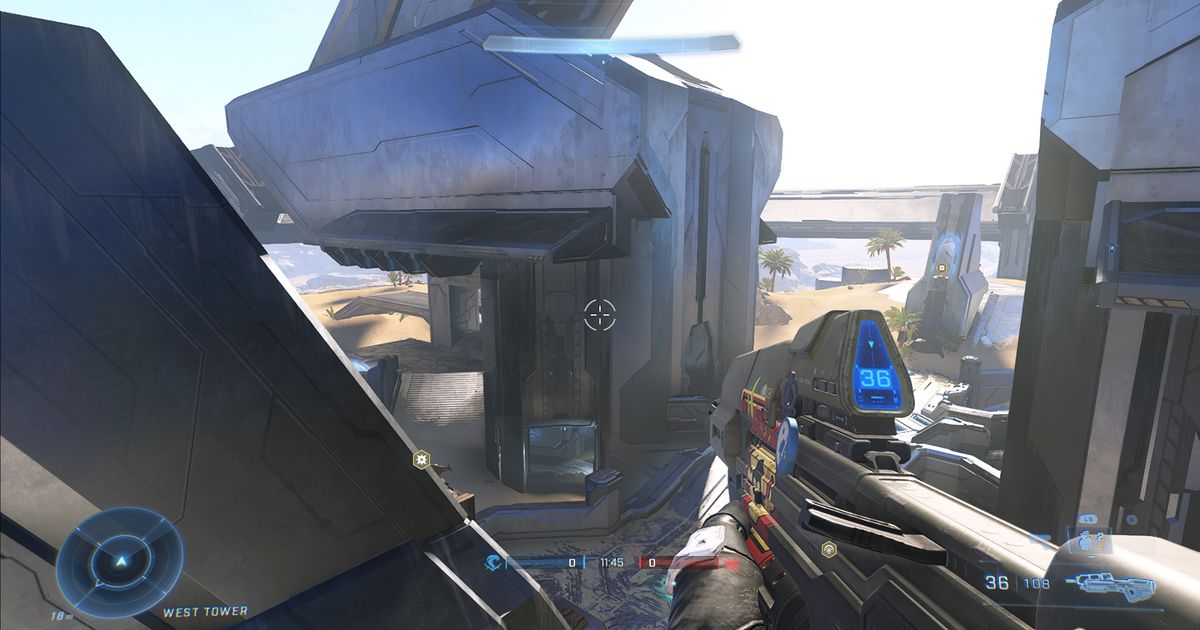
You want to be absolutely on the ball with Halo Infinite's maps. Whether you're playing Big Team Battle or Arena, understanding the location you're romping around while blasting Spartans to shreds is vital to your understanding of the game. So, we've put together a handy Halo Infinite Behemoth map guide.
It has an interactive map, weapon locations, and all manner of tips and tricks to help you improve on Behemoth, so jump into a game and bring this page up to help you out!
Halo Infinite Behemoth Interactive Map
Here's a fully interactive map of Halo Infinite's Behemoth. Hover over each point of interest to see exactly what's sitting there, from weapon drops and vehicle spawns to Jump Pads for launching you across the map at breakneck speed.
Behemoth Map Callouts
Behemoth is a tricky map to navigate. The spawns are on the North and South sides of the map, and the fighting can happen at any point in general.
It's hard to tell where you are outside of just looking to see your current location on the bottom-left side of the screen too, so learning the callouts is a harder task than it is for other maps like Aquarius and Bazaar.
Some bits are harder to tell apart. Thankfully, there's a touch of colour coding to think of, although the callouts aren't as easy to remember.
The main way we've been telling left from right and East from West on Behemoth is by utilising the vehicle locations in relation to yourself. It's that or study the formations of the rocks.
The Ghost, Banshee, or Chopper (the Banished vehicles) always spawn on the West side, whilst the Warthog and Rockethog (the UNSC vehicles) spawn on the East. Along with the Mongoose spawn zones along the Southeast track, you can use this to quickly figure out where you are.
So, if the Banished vehicle is on your left-hand side and the UNSC vehicle is on your right, you're standing on the South side, and vice versa for the North.
We didn't say it was easy! It's a shame there isn't clear colour coding on Behemoth, but it does make it a more interesting map to master.
Behemoth Weapon Locations
The most important aspect of Halo Infinite is gunplay. Sure, your tactics, callouts, and general understanding of the game are all vital too, but if you aren't using the right kit, you won't get anywhere.
So then, here's where you should aim when playing a game on Behemoth and the weapons you can find scattered around the place.
The power weapons are obviously the most important aspects of Behemoth play. Here, they're precision instruments: The S7 Sniper and Skewer. In a map like this, which contains vehicles and a constant sense of impending doom, the Skewer will often be more important as it can one-shot enemies trundling around with a super-powerful, extra-speedy car-like thing. Regardless, a crack shot will be just as strong with the Sniper, and you might even manage to pull off a one-shot kill on the driver without even destroying the vehicle. Then, just hop on and bring your own havoc.
As you can see, the long-range Power Weapons are situated on the East and West Towers, so whoever wins control of those towers will be in a seriously advantageous position. Both the snipers and the cars? We'd be scared.
The other weapon location it's important to keep in mind is the Commando/Battle Rifle location. Both these guns are great long-range alternatives to the Assault Rifle, and you should be able to hit your targets a lot more reliably with them. You can find them at the North and South sides of the map (your spawn areas), on the right-hand side from where your team started the match.
There you have it - heard enough about the Behemoth map? Well then, take a look at our handy advice on the Halo Infinite weekly challenges, as well as some tips on how to rank up your Halo Infinite Battle Pass faster.
Explore new topics and discover content that's right for you!


